All posts by Miriam Thomas

CM Spotlight: Andrew Valdez

Facebooktwitter

10173634_10204020774386780_3376540794542252954_n

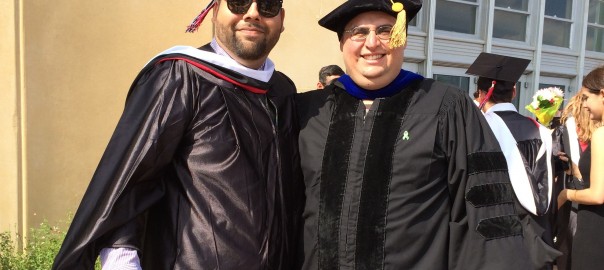
As a collective, we like to shine the spotlight on those members who have received outside recognition for their efforts in the realm of media and technology. This last academic year, one of our members, Andrew Valdez, received national attention for his social media campaign for Palo Alto College, one of the Alamo Colleges. Andrew began working for Palo Alto in June 2012 as a Senior Multimedia Specialist. Since his arrival, his contribution to the Alamo Colleges has been noted. His work can be reflected in the renovation of both the Facebook and Twitter accounts of the campus. Prior to his involvement, Palo Alto had multiple pages for each social media outlet, making it confusing for students to get in touch with their campus. Andrew has since empowered both students and employees to continuously engage online. Furthermore, he has successfully opened up a line of communication and continues to keep an ongoing dialogue between the college and its students through the use of social media.Screen Shot 2014-05-18 at 11.25.48 PM

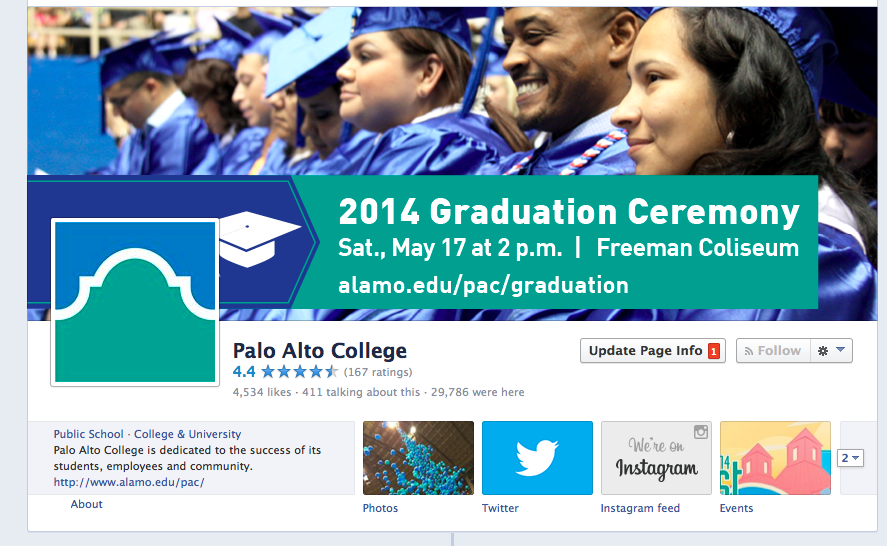
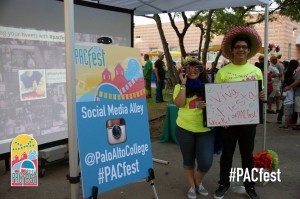
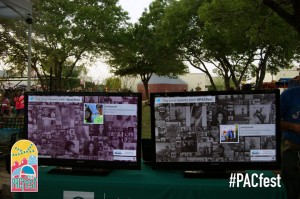
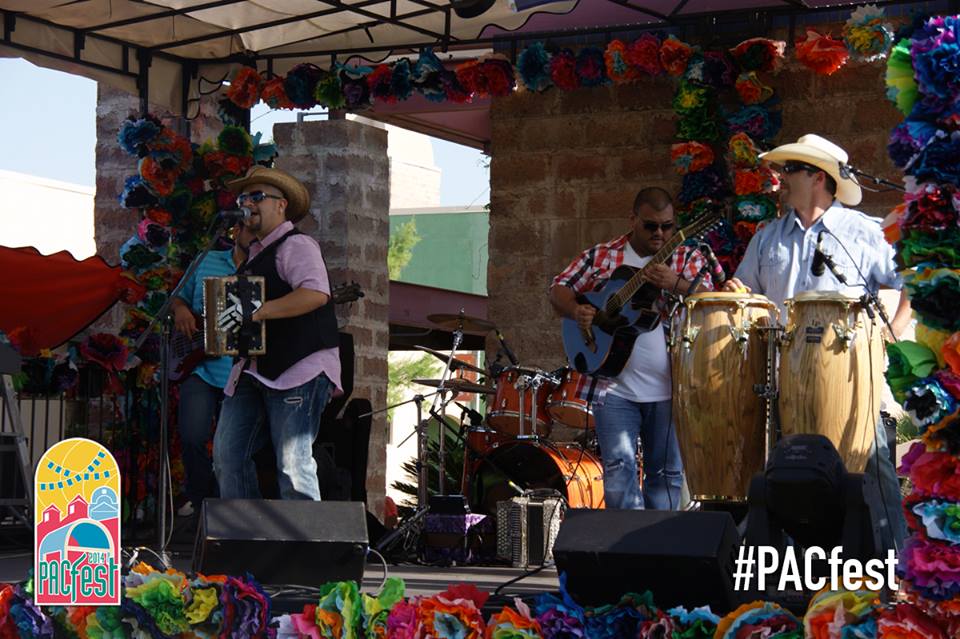
In addition to managing the campus’ Facebook, Instagram, Youtube, Linked In and Twitter accounts, Andrew is also on the planning committee for PACfest, an official Fiesta event hosted by the college. This year’s event improved on the success of a unique and innovative attraction that was suggested and implemented last year by Andrew and his team. His idea was to incorporate the use of social media and blend it into the event, providing real time comments and feedback. The idea was named Social Media Alley, which included large screens on either side of a walkway that projected live status updates about PACfest using the hashtag “#PACfest”. The Alley also offered onlookers a chance to see what their community and classmates were posting on Instagram and Twitter so they can be informed of the best entertainment, games and food during the event. Check out this years event below.

10301352_10152480564652784_4518605531501212817_n IMPORTANT10154337_10152480563612784_3480207451029272601_n 10170973_10152480564217784_5448520872838661931_n 10171848_10152480563597784_9208619597277601283_n 10247218_10152480563577784_3899576385629541881_n 10252174_10152480564632784_4290357920200102762_n 10253798_10152480564087784_2566060522680806307_n

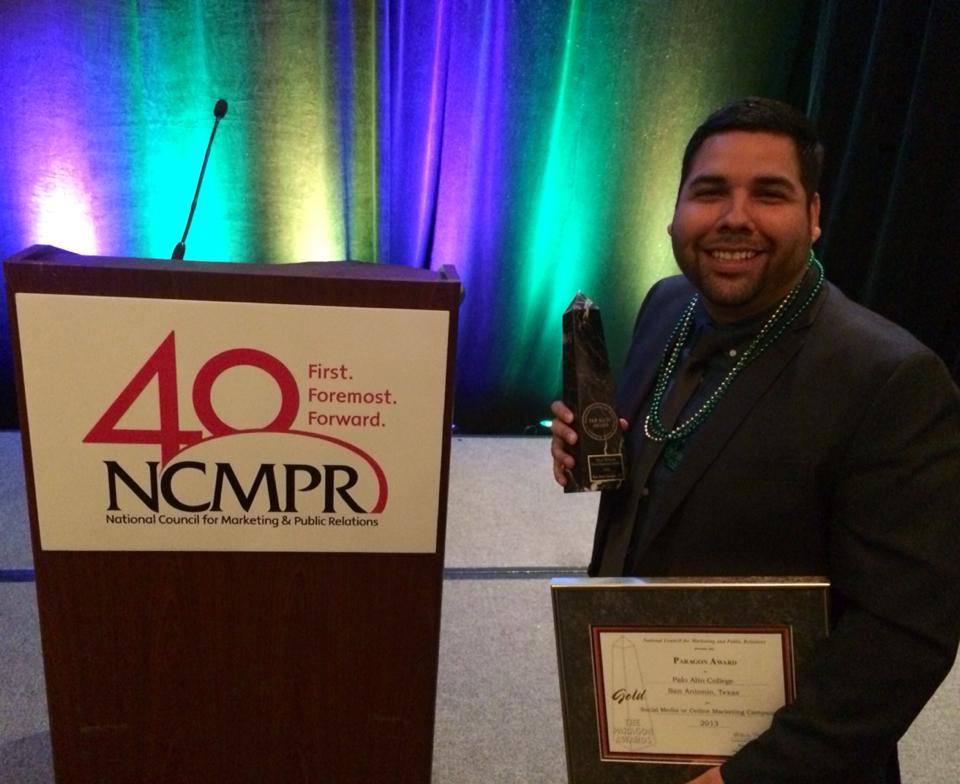
Originally, Andrew thought this campaign would win a certificate and possibly state recognition, however he was later informed that the PACfest Social Media Alley campaign was nominated for one of the best Social Media Campaigns at the 2014 National Council for Marketing & Public Relations Conference. The conference was held in New Orleans and Andrew was in attendance to accept the Paragon Gold Award for Social Media Campaign of 2013, which was top honors in that category beating out several colleges such as Tallahassee Community College and Colorado Mountain College.

1911619_10203654980882171_252428477_n

Congratulations Andrew for all your hard work!

Automated Slide Arm Tutorial

Facebooktwitter
Some of the bolts from the slide arm package

When you first open up the packaging of an automated slide arm, it can be pretty intimidating. It usually consists of the arm itself, the plate, a battery pack, a timer, and a bag full of nuts, bolts, screws, and weird looking little knick knacks. In addition to the slide arm equipment, you’re going to want to have two steady tripods that are the same. My suggestion is that you have a designated bag for all the little pieces and a box for the plate, timer, and battery to keep everything all together.

Excuse the blurriness but this is the thread the mounts the camera to the plate.

When assembling the plate it makes it a lot easier if you mount the camera onto the plate before starting anything. It mounts just like it would onto a tripod with the threat pictured above. I’ve learned from experience that the thread that comes with the slide arm package does not necessarily fit all cameras. So make sure you do a test fit before you go shoot on location. For example the thread listed above is too large for a Cannon DSLR 6D but it fits perfectly for the Cannon DSLR 60D and T5i.

The beveled bolt that screws onto the tripod plate attaching the arm

Once the camera is mounted, space the tripods the distance that slide arm stretches. Remove the plate that the camera mounts to. In the pile of little knick knacks that the slide arm came with, there should be a beveled bolt similar to the one pictured above. Slide the bolt into the thread that sits in the tripod plate. The bolt will slide into the slide arm track fairly easily, it it doesn’t, give it a little wiggle but don’t force it.

How the plate attaches onto the bolt

Once both the plates from each of the tripods are attached on both ends attach the plates back onto the tripod. Slide the plate with the mounted camera onto the slide arm track.

How the track looks secured onto the tripod

The next step is to attach the gear strip to the slide arm track and wire it through the gears. When wiring the strip make sure that the end caps with the four bolts are secured onto the slide arm track first (pictured below). Attach the strip into the gear securing only on the opposite end of the plate.

The slide arm secured onto the tripod with the endcaps holding onto the gear strip

The teeth in the strip should line up directly into the end cap. Then screw the end cap bolts to the right to tighten the grip.

How the endcaps fit into the gear strip

With the remaining lose end of the strip pull it along the slide arm plate and pull it under the plate with the camera and wire it through the gears like it is pictured below.

How the gear strip looks wired through the gears under the plate

Then secure the end of the strip into the second end cap just like the first one.

How the plate looks wired with the gear strip

Now that everything is pretty much set in place, you have to attach the battery pack and timer onto the plate. Here’s where you can take my advice or leave it. If you are shooting horizontally with the slide arm then just resting the timer and battery on the plate should be safe. However, if you want to shoot with the slide arm with any type of angle, then you’re going to need to secure the timer and battery so it doesn’t fall off the plate while it’s in motion. I recommend attaching 3M Velcro strips on the pieces and on the plate so they are securely mounted next to the camera.

3m Velcro tape placed on the battery and timer to hold onto the plate
The plate with the camera, battery pack, and timer.

Now a second bit of advice is the suggestion of incorporating twist ties. The wires from the battery pack are a lot longer than the distance needed since it’s mounted to the plate. To avoid getting the wires caught in the slide arm track, use a twist tie to keep the wires compact and tuck them onto the plate, freeing the track.

Zipties around the extra wiring from the battery

Finally, the easiest step of the entire tutorial: plug the battery into the timer and plug the timer into the motor on the plate. (It’s usually labeled) I would usually go on to elaborate how to operate the timer that tells the slide arm how quickly it needs to move, but every timer is different.

Once you get down the basics of operating the timer, you’re all set to start exploring the various aspects of film.

The final product being used to shoot horizontally