Categories
News

Automated Slide Arm Tutorial

Facebooktwitter
Some of the bolts from the slide arm package

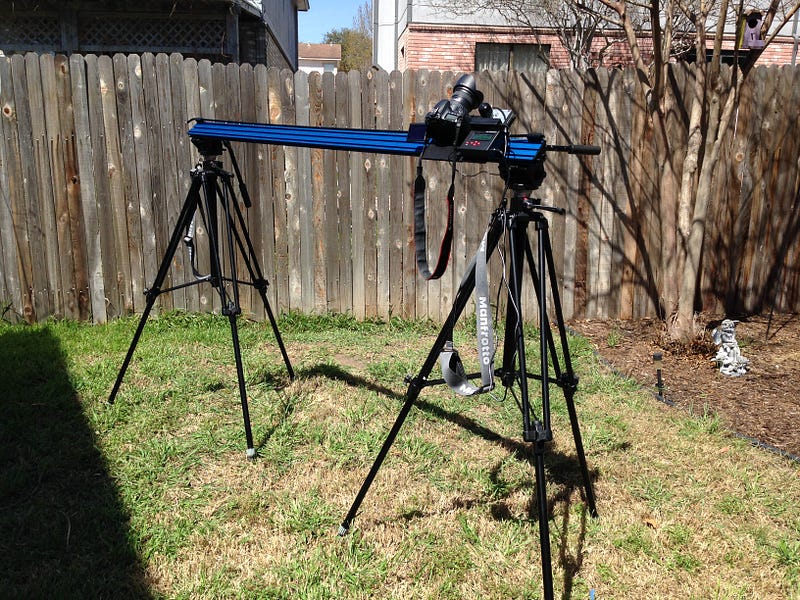
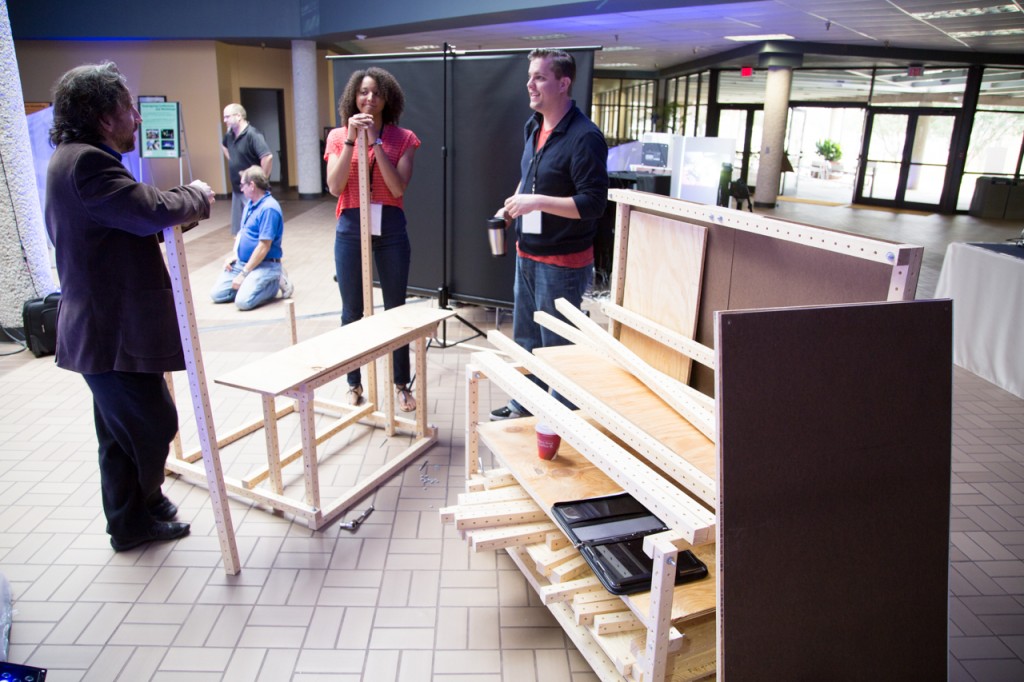
When you first open up the packaging of an automated slide arm, it can be pretty intimidating. It usually consists of the arm itself, the plate, a battery pack, a timer, and a bag full of nuts, bolts, screws, and weird looking little knick knacks. In addition to the slide arm equipment, you’re going to want to have two steady tripods that are the same. My suggestion is that you have a designated bag for all the little pieces and a box for the plate, timer, and battery to keep everything all together.

Excuse the blurriness but this is the thread the mounts the camera to the plate.

When assembling the plate it makes it a lot easier if you mount the camera onto the plate before starting anything. It mounts just like it would onto a tripod with the threat pictured above. I’ve learned from experience that the thread that comes with the slide arm package does not necessarily fit all cameras. So make sure you do a test fit before you go shoot on location. For example the thread listed above is too large for a Cannon DSLR 6D but it fits perfectly for the Cannon DSLR 60D and T5i.

The beveled bolt that screws onto the tripod plate attaching the arm

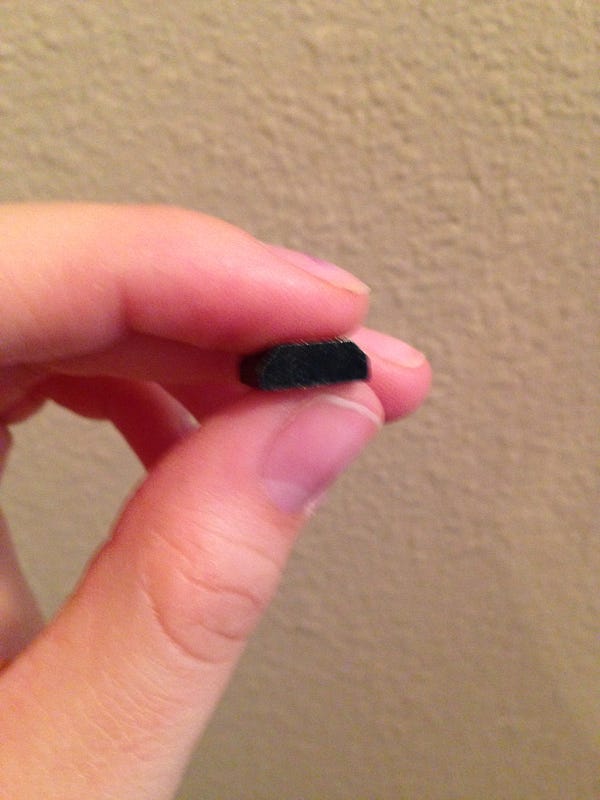
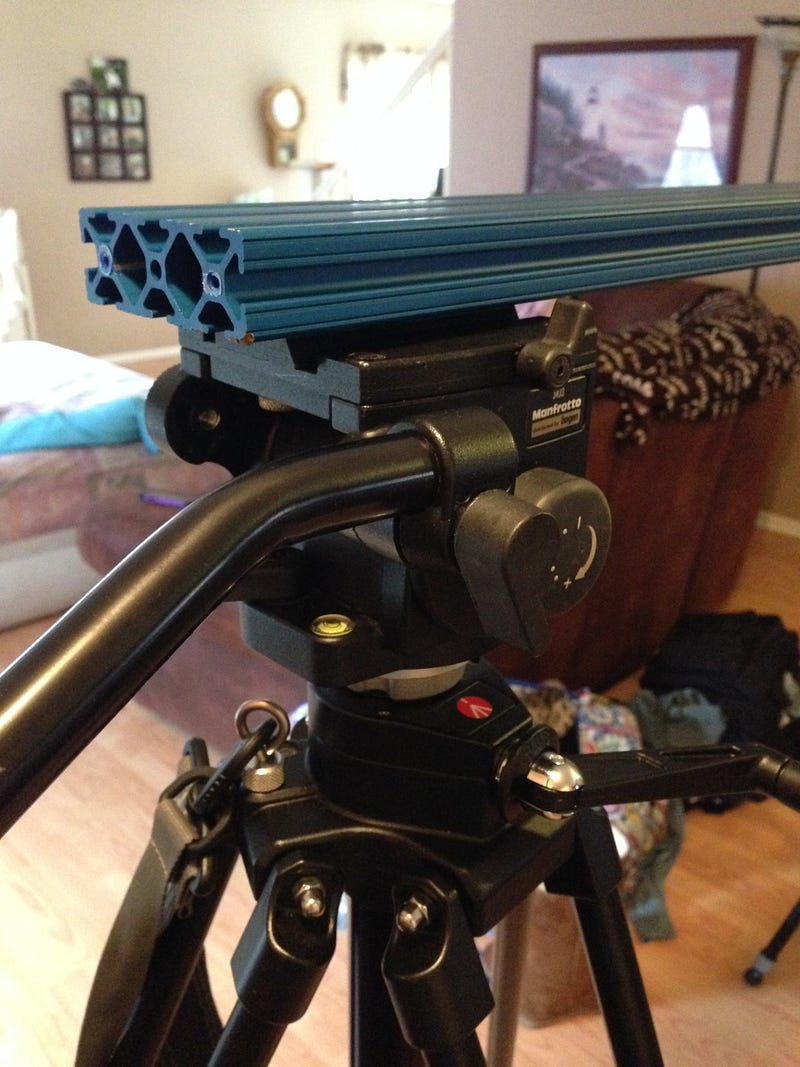
Once the camera is mounted, space the tripods the distance that slide arm stretches. Remove the plate that the camera mounts to. In the pile of little knick knacks that the slide arm came with, there should be a beveled bolt similar to the one pictured above. Slide the bolt into the thread that sits in the tripod plate. The bolt will slide into the slide arm track fairly easily, it it doesn’t, give it a little wiggle but don’t force it.

How the plate attaches onto the bolt

Once both the plates from each of the tripods are attached on both ends attach the plates back onto the tripod. Slide the plate with the mounted camera onto the slide arm track.

How the track looks secured onto the tripod

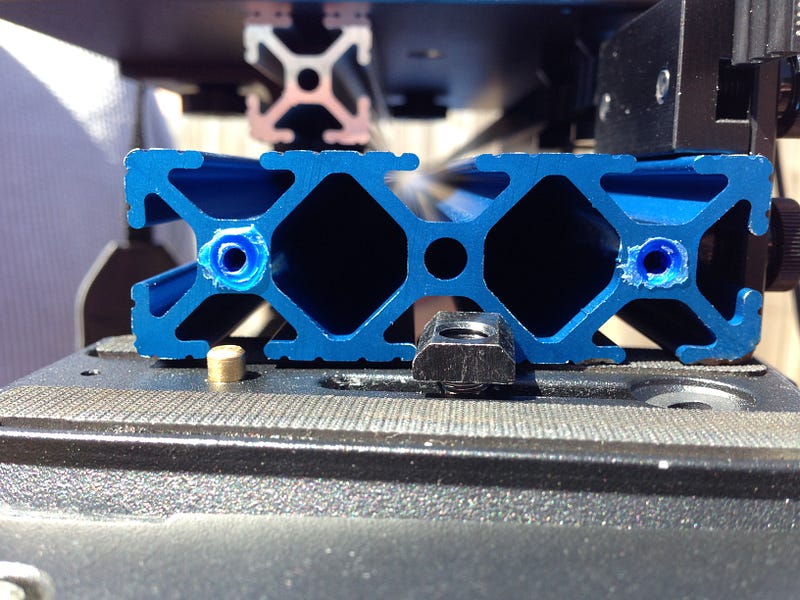
The next step is to attach the gear strip to the slide arm track and wire it through the gears. When wiring the strip make sure that the end caps with the four bolts are secured onto the slide arm track first (pictured below). Attach the strip into the gear securing only on the opposite end of the plate.

The slide arm secured onto the tripod with the endcaps holding onto the gear strip

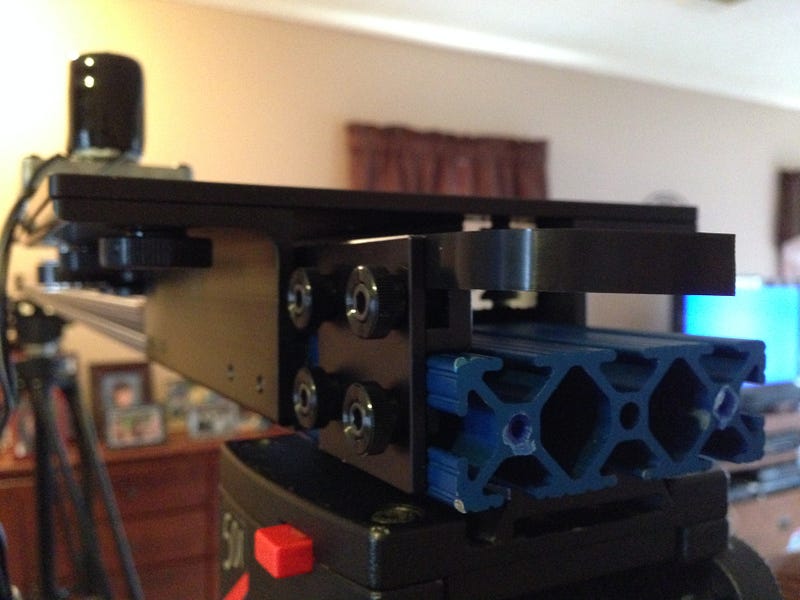
The teeth in the strip should line up directly into the end cap. Then screw the end cap bolts to the right to tighten the grip.

How the endcaps fit into the gear strip

With the remaining lose end of the strip pull it along the slide arm plate and pull it under the plate with the camera and wire it through the gears like it is pictured below.

How the gear strip looks wired through the gears under the plate

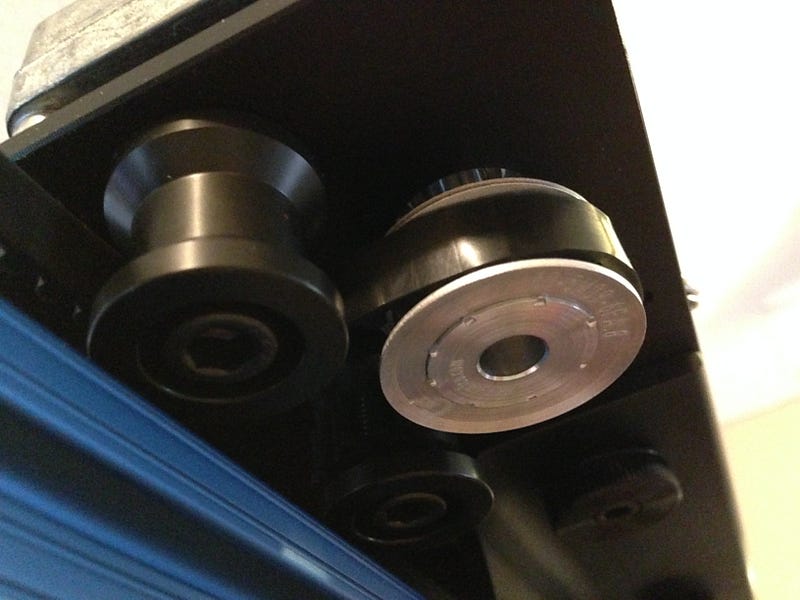
Then secure the end of the strip into the second end cap just like the first one.

How the plate looks wired with the gear strip

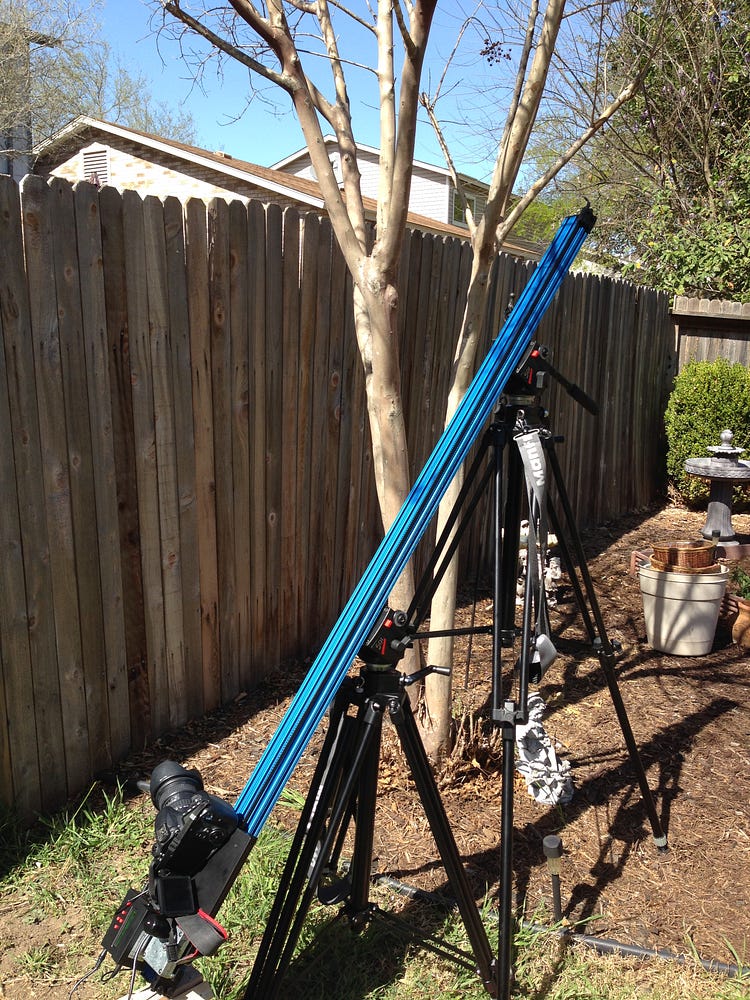
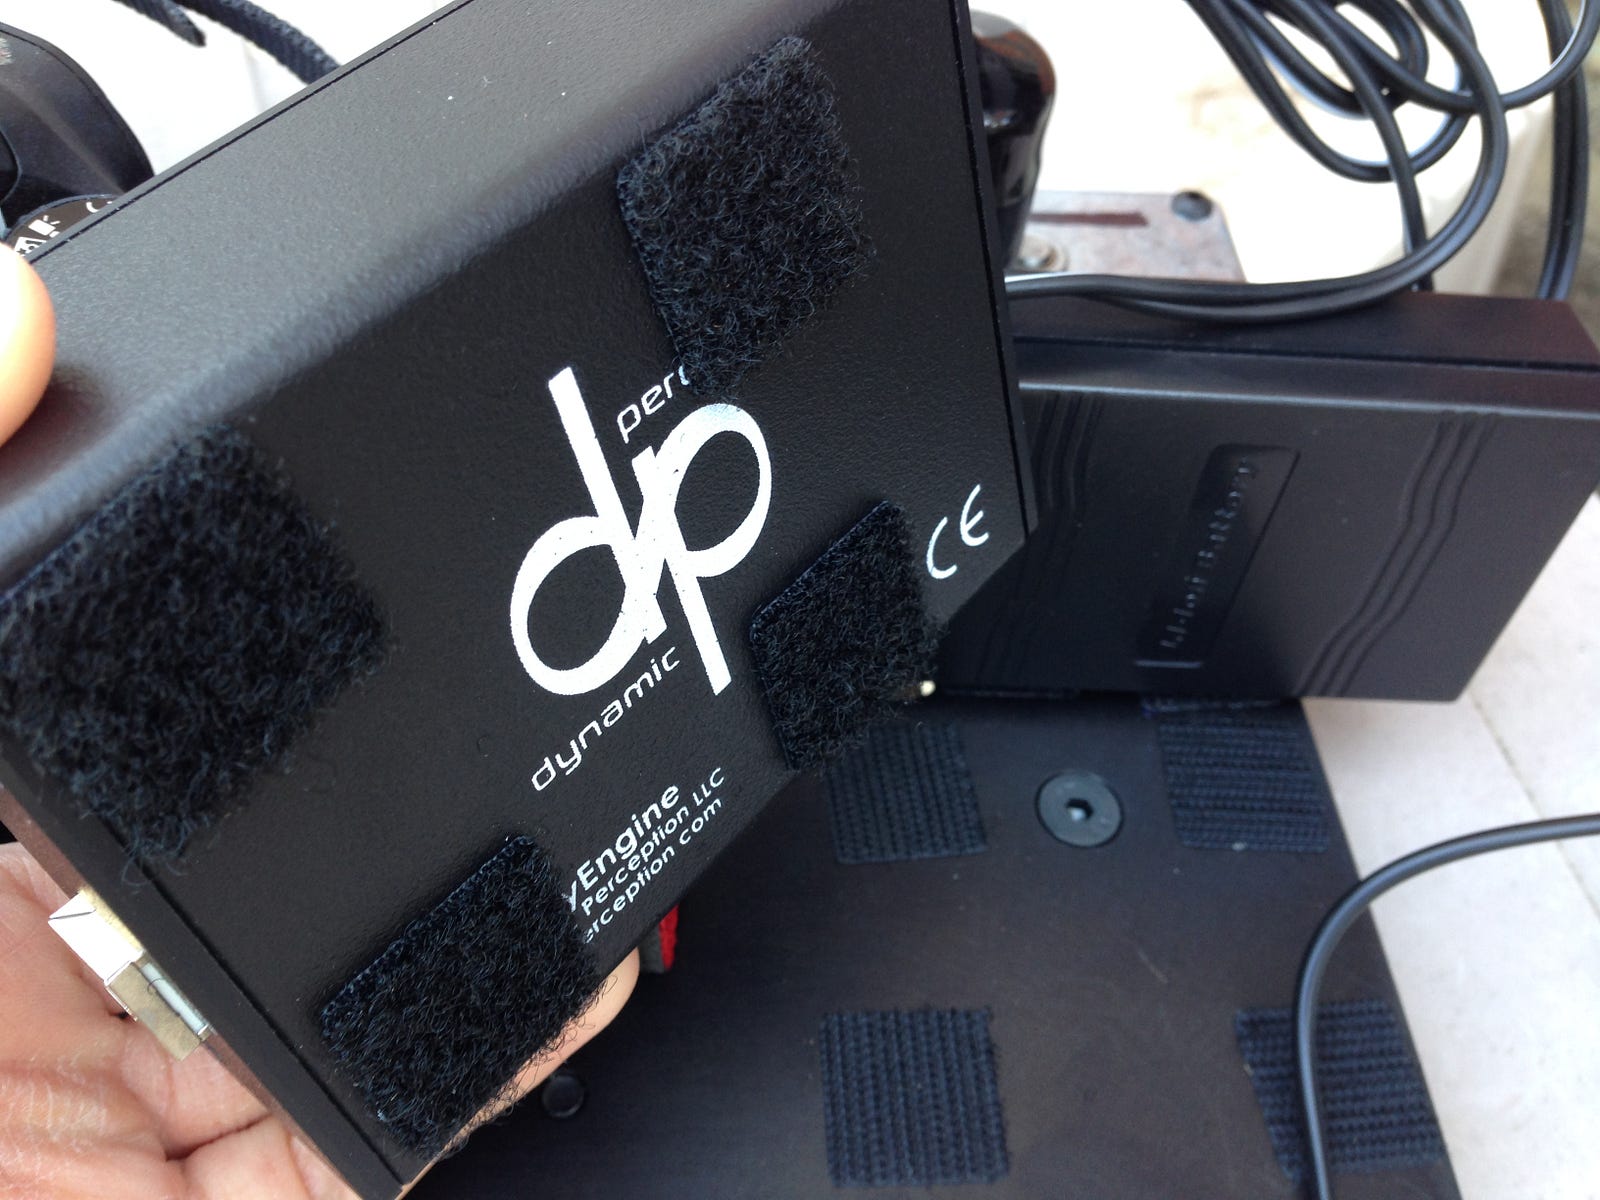
Now that everything is pretty much set in place, you have to attach the battery pack and timer onto the plate. Here’s where you can take my advice or leave it. If you are shooting horizontally with the slide arm then just resting the timer and battery on the plate should be safe. However, if you want to shoot with the slide arm with any type of angle, then you’re going to need to secure the timer and battery so it doesn’t fall off the plate while it’s in motion. I recommend attaching 3M Velcro strips on the pieces and on the plate so they are securely mounted next to the camera.

3m Velcro tape placed on the battery and timer to hold onto the plate
The plate with the camera, battery pack, and timer.

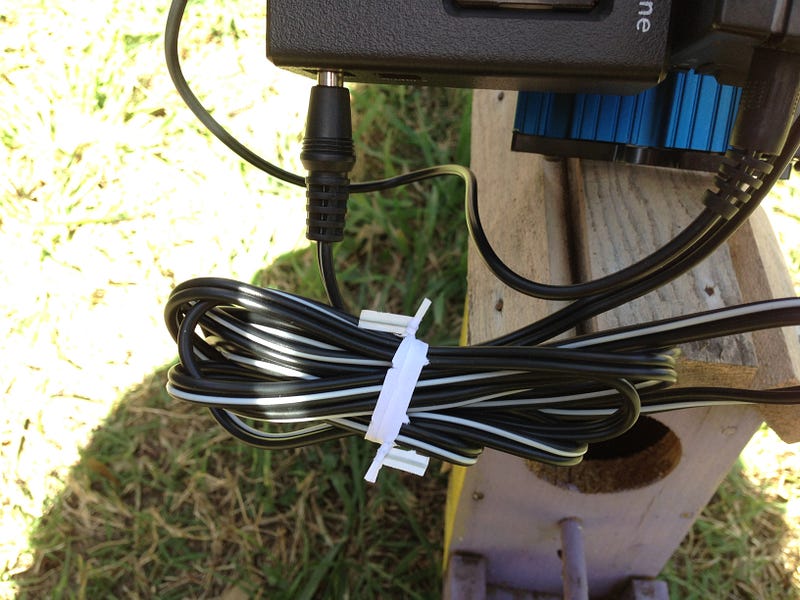
Now a second bit of advice is the suggestion of incorporating twist ties. The wires from the battery pack are a lot longer than the distance needed since it’s mounted to the plate. To avoid getting the wires caught in the slide arm track, use a twist tie to keep the wires compact and tuck them onto the plate, freeing the track.

Zipties around the extra wiring from the battery

Finally, the easiest step of the entire tutorial: plug the battery into the timer and plug the timer into the motor on the plate. (It’s usually labeled) I would usually go on to elaborate how to operate the timer that tells the slide arm how quickly it needs to move, but every timer is different.

Once you get down the basics of operating the timer, you’re all set to start exploring the various aspects of film.

The final product being used to shoot horizontally


Categories
News

The CMC presents at STEAM3

Facebooktwitter

In the fall of 2013 we were made aware of STEAM3, a national conference at the University of Texas at Austin. The March 1-2 conference was a future-focused event for all ages to explore multi-dimensional, captivating approaches to the future of education. joey was asked by the conference organizer to be 1 of 20 presenters to give a presentation on STEAM related issues.

joey’s talk was titled, “STEAM in the 21st Century: Maker and Creative Spaces Inside and Outside the Classroom.” He discussed the STEAM landscape in San Antonio, TX and how The Convergent Media Collective has contributed to this movement. For a refresher about what we do check out our Youtube channel: youtube.com/thecmcollective


In addition, the collective was asked to host a demo area.  We managed to put together a set of demonstrations to show off some of the projects we had worked on in the past year. Below is an example of some of the augmented reality demos we had at our table. Video taken by iG user: esiowing

Both our presentation and booth were a hit with the conference goers giving joey a big round of applause and a slew of questions. Andrew Valdez did a great job showing off our projects as you can see in the photos.  A big shout out goes to him for all his efforts. He is also responsible for the awesome banner we currently have.

This conference provided an opportunity for the collective to show off their work beyond the city limits of San Antonio. It is fair to say that our work is on par with that of other groups and organizations within the state. The collective managed to network with other like-minded people and discuss new media and STEAM in the 21st century.

Categories
News

OpenEdJam

Facebooktwitter
aac-talk-3
Mariah Villarreal hosted Chancellor Bruce Leslie at Geekdom for a discussion about the open text book initiative by The Alamo Colleges. The chancellor gave a great talk and the audience had many questions that helped further the discussion on integrating open text books into higher education at an administrative level.

One day I was sitting with Mariah Villarreal and we were talking about open education initiatives.  She mentioned wanting to do something big on the topic, she had been talking to Mark Barnett about it as well.  Various ideas were thrown out and next thing I knew she was planning OpenEDJam.

As an informal member of our collective (the best kind), Mariah has a track record of pursing her interests in activism and education not just through research papers, but outside the classroom.  She currently works for FIRST as an Americorps member and in her free time studies open education solutions.  Her friendly persona and ability to work well with others has led her to develop a good network in the open education field.

Since the initial inception OpenEDJam has developed into a full on conference with a planned 150-200 attendee 3 day event.

The collective has offered to help promote and develop media for the conference.  For us, it is important to help each others efforts to take ideas and make them big.  Mariah is setting an awesome example and we are very proud of her efforts.

And so what is OpenEDJam?  Well this wouldn’t be a CMC post without some video.  We helped put together a call to action video which can be viewed below:

So here are the need to know details:

Date:  July 25th-27th, 2014

Place:  San Antonio, Tx

Submit a session proposal:  http://openedjam.org/proposals

Register:  http://openedjam.org/Registration

Website:  http://openedjam.org/

Facebook:  https://www.facebook.com/OpenEdJAM

Twitter:  https://twitter.com/OpenEdJam

Contact: mariah@openedjam.org